**Pinterest Project Guest Blogger**

Friday, September 13, 2013

Happy Friday everyone!

I have my first ever guest blogger! Yay me!  And yay  for y'all because her project came out absolutely AMAZE-BALLS!!!  But before I hand over the reins, I felt it incumbent (I know big words!) upon me to mention that I updated the picture of my Creamy Pasta Bake that I posted on 9/11 and it looks edible now! haha  Anyway, enjoy Tracy's post and look for our surprise project in Monday's post to follow.   ~Holly


Well hello there all of you in Holly{At}wood Land :)

So you know who is talking, my name is Tracy and I have the privilege of being Holly's Pinterest friend!! (We actually met at church and are also: Dexter, Musical, Singing, Fantasy Football Playing. . .Friends). Holly has mentioned me a few times in her blog but this is my first time ever having a guest spot to show off one of MY favorite projects that I've completed.

My project was inspired by this lovely dresser that has been floating around Pinterest.  What first caught my eye were the KNOBS! I absolutely LOVE Anthropologie knobs and if you luck out you can get gorgeous glass knobs for as low as $2-3 on clearance or you can find the same style on eBay (Which is where I got mine because the glass knobs I wanted are popular and reoccurring at Anthro. . .meaning they don't really ever go on sale) (**hint** if you shop at Anthro, which hardly ever has sales, sign up for their loyalty program and you get 15% off your entire purchase during your birthday month). Back to the inspiration, just look  at this GORGEOUSLY transformed Ikea dresser:

http://www.pinterest.com/pin/60798663692495675/
::Sigh:: Isn't it GORGEOUS. Well that's what got me started. However I stumbled upon the core of my project when browsing Craigslist to see how much people were selling pallet tables for (which I have also made).  Although it is not a dresser, I KNEW once I saw the hutch that this was how I was going to transform it. So here is the hutch:

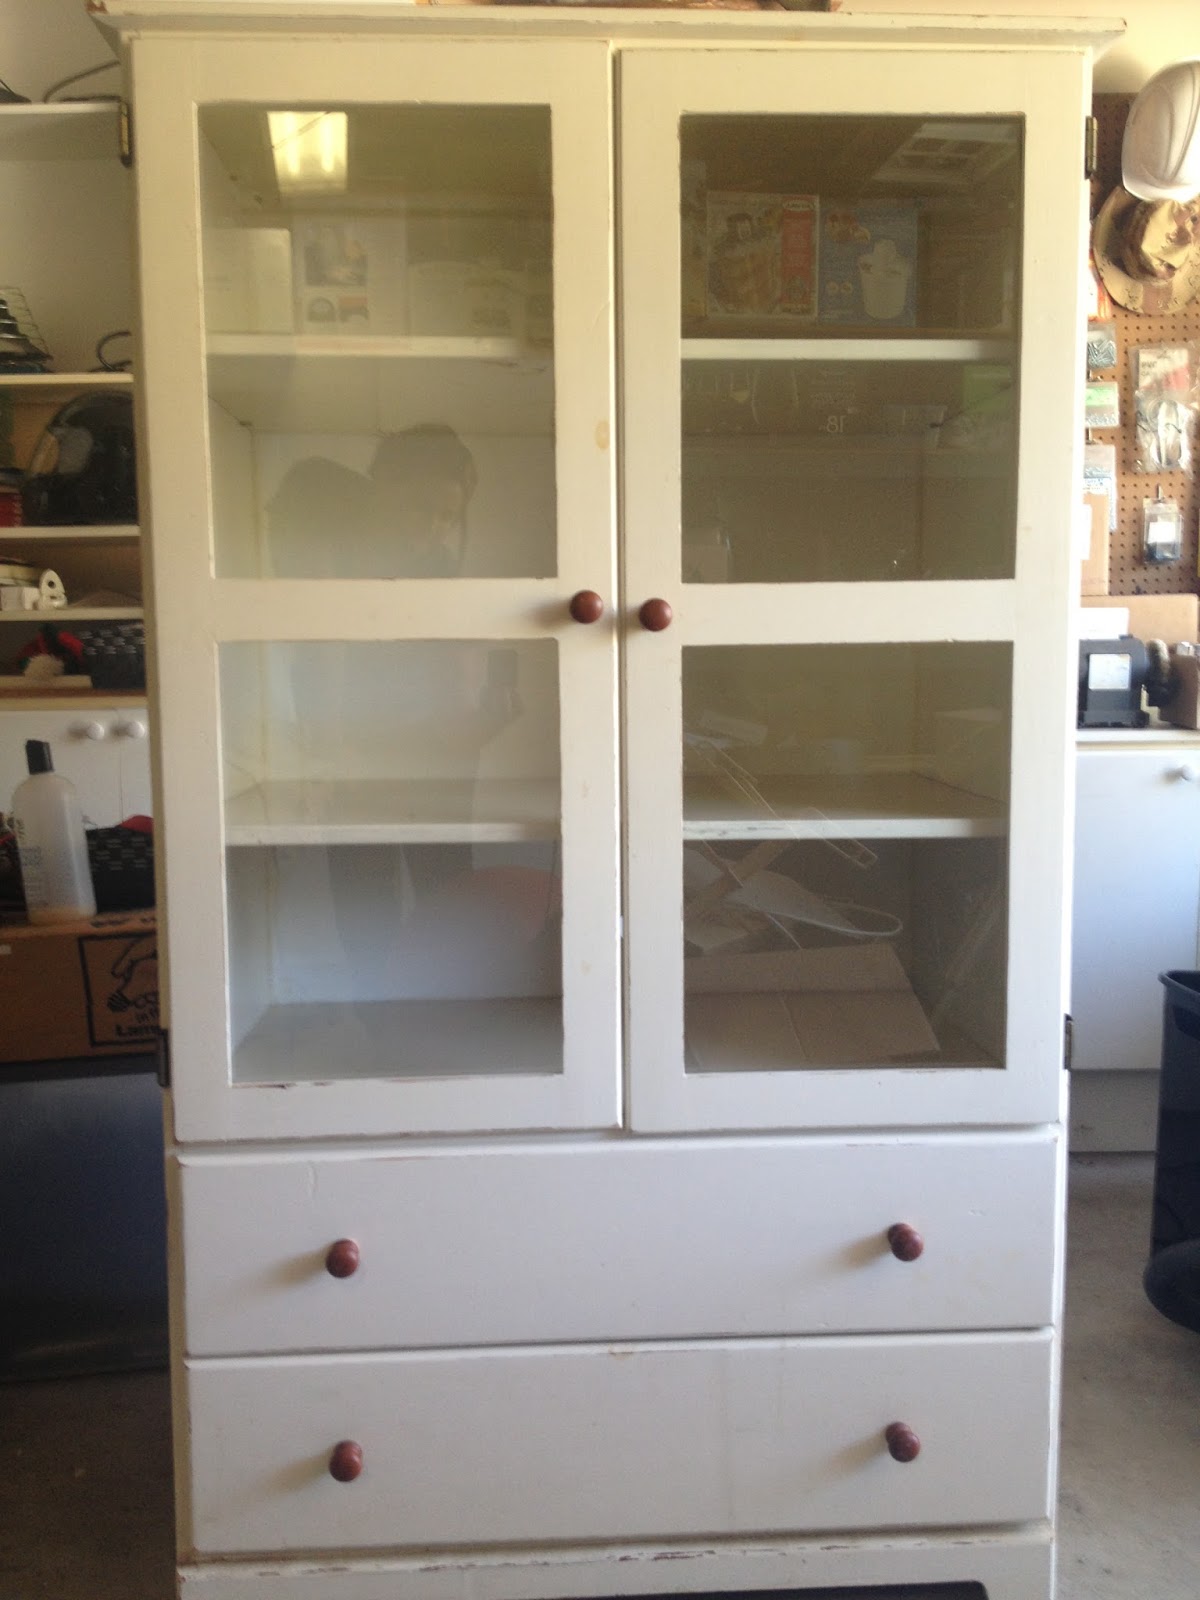
Please disregard the messy garage and reflections of me :P


Although you can't see it, this hutch was a mess. There were stains, peeling paint, crooked doors, sticky sliders. . .but over all it was it was in good condition and in need of a facelift :) On Craigslist the hutch was priced at $115 and I got it for $90.

From here I followed the blog tutorial step by step down to the exact same paint color, because thankfully they listed EVERYTHING.

First I painted the entire hutch with Zinsser Cover Stain High Hide Primer:


I used 2 coats for everything which blocked out ALL stains and helps you skip the painful step of sanding (which I know Holly absolutely dreads). Zinsser was an aha!  moment for me. It sticks to most surfaces and gives you the surface you need to apply paint without having to sand and will not peel in the future.

Next I added my second favorite thing to use Allen and Roth paintable wallpaper from Lowes! It was so simple!!! It comes in a big roll (which I still have TONS of left over). So I measured the strips I would need for my drawers and for the back of the hutch interior, leaving extra length to the strips for the back of the hutch, to allow for exact measurement when placed. Then I followed all the instructions for the wallpaper. It already has the adhesive so all I had to do was dip the strips in water and fold them in, so the adhesive was touching, and let the strips sit for the time recommended. Then I added the strips to my drawers and the back of the hutch (with the help of my mom). We used a straight edge and a razor blade to get the exact measurement. Then you just "squeegee" the excess glue and wipe it away.


Now I don't know if you can see it from this picture on the right but there were some shadows and cracks, etc. So I caulked all of the seams with silicone caulking. . .to keep out light and spiders. It also gave it a more professional look.


Trust me it made QUITE the difference and really made the piece look much more custom and professional.

Next, everything got painted the lovely Rugged Suede color by Valspar. I used 2 coats on the exterior and only 1 coat on the interior.


Once the paint was dry enough I added the border accents on the drawers which were a butt to find! I actually had to go to a local molding store and order them but it was worth it and only $1 and change. 

I painted the natural wood border white with the primer before using an epoxy to adhere the pieces to the drawers.
Afterwards, I coated the entire hutch twice with Polycrylic Satin Protective Finish (Water-based), to protect the paint from scratches and makes for easy clean up when it got dusty.

I waited a few days days for everything to completely dry and then I added new drawer gliders, put on the Anthropologie knobs and cleaned and replaced the glass in the doors. Soooooo here was my finished project :)


I am really in love. . .especially with the subtle but custom accents the paintable wallpaper gave the piece. Altogether I spent about $130-$150 for this project. Which can seem like a lot for a penny pinching Pinterest project. However, this was my first big furniture purchase at the age of 23, it is a custom job and I will definitely get my use out of it :) Also after researching online a 5-ft hutch could cost anywhere from $500-$1600 and some still wouldn't look this fabulous!  I plan on using this hutch for blanket storage, picture frame displaying and maybe some extra cute dishware or nik-naks in the living room of an apartment when I move out in the near future (still job searching which is a whole different blog post :P ).

Well anyhoo, I hope you enjoyed my post! I really do love my hutch and can't wait for more Pinterest projects with Holly! She has definitely blessed my life since we were introduced via our church. 

See y'all soon!

Tracy

You Might Also Like

0 comments

Follow Me